
A passport photo is more than just a picture; it’s an official document. Governments worldwide have strict, non-negotiable requirements for the size, composition, and quality of these photos. Submitting an incorrectly sized photo is one of the most common reasons for application delays and rejections. While many people go to a pharmacy or photo studio, it is entirely possible to create a compliant passport photo at home for free—if you know the exact rules and have the right tools.
This guide will provide the precise dimensions you need and walk you through the best methods to resize and format your photo to official passport standards, typically the US requirement of 2×2 inches.
### Part 1: Understanding the Exact Passport Photo Requirements
Before you resize a single pixel, you must understand that “passport size” involves three critical elements: **physical dimensions, pixel resolution, and composition.**
**1. Physical Size (The Most Important Factor):**
* **For the United States:** The required size is **2 x 2 inches**.
* **For many other countries (e.g., UK, Canada, India):** The standard size is **35 x 45 mm** or **50 x 50 mm**. Always check the specific requirements of the country issuing the passport.
**2. Pixel Resolution (The Digital Equivalent):**
The physical size alone isn’t enough for a digital upload or print. You need the correct resolution, measured in Pixels Per Inch (PPI). For a sharp, high-quality print, the standard is **300 PPI**.
* **To calculate the pixel dimensions for a 2×2 inch photo at 300 PPI:**
* Width: 2 inches x 300 PPI = **600 pixels**
* Height: 2 inches x 300 PPI = **600 pixels**
Therefore, your final digital image must be **600 x 600 pixels**.
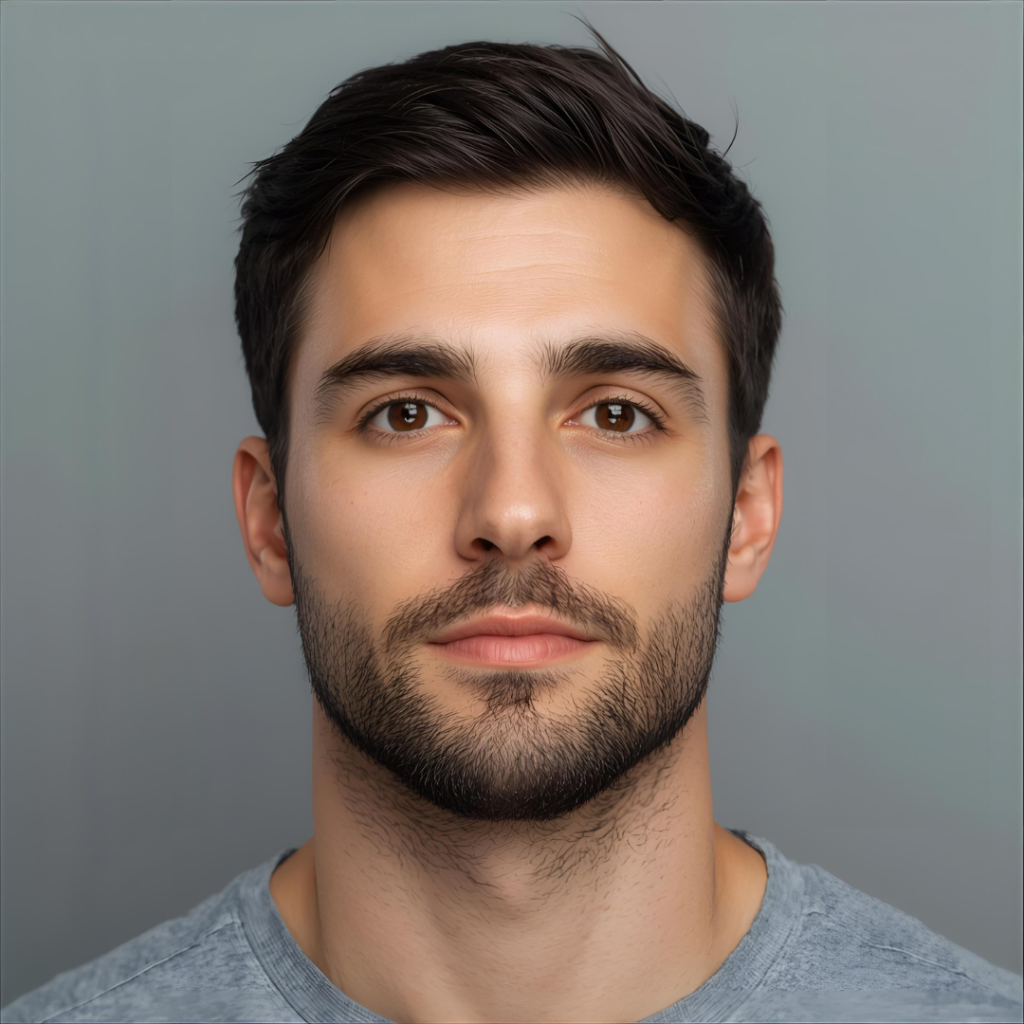
**3. Composition and Background Rules:**
The sizing is only half the battle. The photo must also adhere to strict compositional rules:
* **Plain White or Off-White Background:** No patterns, shadows, or other people/objects.
* **Neutral Expression:** Face the camera directly with a neutral expression, eyes open and clearly visible.
* **Head Size:** The head (from the top of the hair to the bottom of the chin) must measure between **1 inch and 1 3/8 inches (25-35 mm)**, and should be centered in the frame.
* **Recent Photo:** Taken within the last 6 months.
* **No Eyewear:** Glasses are generally not permitted unless for medical reasons (and even then, with a certificate and no glare).
* **No Head Coverings:** Unless for religious reasons.
### Part 2: Step-by-Step Guide to Resizing Your Photo
The goal is to take your original photo and transform it into a perfectly compliant 600×600 pixel image with the correct composition. Here are the best methods, from professional software to free online tools.
#### Method 1: Using a Free Online Photo Editor (Easiest for Most People)
This is the most accessible method. Using a dedicated online tool like **reduceimageresolution.com/** is ideal because it allows for precise pixel dimension control and often includes a cropping tool to help with composition.
**Step-by-Step Guide with an Online Tool:**
1. **Take Your Photo:** Follow the composition rules above. Have someone take your picture against a plain, well-lit white wall.
2. **Go to the Website:** Open your browser and navigate to a tool like **reduceimageresolution.com/**.
3. **Upload Your Photo:** Drag and drop your original photo into the upload box.
4. **Crop to the Correct Ratio (Crucial Step):**
* Look for a “Crop” or “Resize” tool within the website.
* Set a custom aspect ratio of **1:1** (a perfect square). This is essential for the 2×2 inch format.
* Drag the crop box to frame your head and shoulders, ensuring your head is centered. Refer to the head size requirement (1 to 1 3/8 inches) visually. Your head should take up a significant portion of the square but not fill it completely.
5. **Resize to Exact Pixel Dimensions:**
* Now, input the exact pixel dimensions for the resizing tool. Set the width to **600 pixels** and the height to **600 pixels**.
* Ensure the “Maintain Aspect Ratio” or “Constrain Proportions” option is **ON**. Since you’ve already cropped to a 1:1 square, this will simply scale your cropped image to 600×600 pixels perfectly.
6. **Adjust Background (If Necessary):** If your background isn’t perfectly white, you may need to use a different tool (like Adobe Express or Canva) to remove the background and replace it with white after resizing.
7. **Download Your Image:** Save your new 600×600 pixel passport photo to your computer.
#### Method 2: Using Professional Software (For Maximum Control)
If you have access to software like Adobe Photoshop or the free alternative GIMP, you can achieve pixel-perfect results.
**In Photoshop:**
1. Open your original photo.
2. Select the **Crop Tool (C)**. In the top toolbar, set the ratio to **”Ratio“** and enter **1** and **1**.
3. Crop the image to frame your face correctly.
4. Go to `Image > Image Size`.
5. Uncheck “Resample Image” first. Set the Resolution to **300 Pixels/Inch**. Then, set the Width and Height to **2 inches**. The pixel dimensions at the top should now read 600 x 600.
6. If the pixel dimensions are not 600×600, check the “Resample Image” box and manually set the width and height to **600 pixels**.
7. Save the file as a high-quality JPEG.
#### Method 3: Using a Smartphone App
Many apps are designed specifically for passport photos.
1. Search your app store for “
or “ID Photo Maker.”
2. These apps will typically guide you through taking the photo against a plain background.
3. They automatically apply the correct size and layout for your selected country (e.g., USA 2×2 inches).
4. Some apps may place multiple copies of the photo on a standard 4×6 inch print template, ready for you to print at a pharmacy.
**Pros:** Very convenient and automated.
**Cons:** Quality can vary; some apps require payment to save the photo without a watermark.
### Important Final Steps Before Submission
1. **Print on Photo Paper:** If you are printing the photo yourself, use high-quality photo paper. The standard method is to print six identical 2×2 inch photos on a single 4×6 inch sheet and cut them out.
2. **Check with a Digital Photo Validation Tool:** Many government websites (like the US Department of State’s website) offer an online photo tool that can check your digital photo for compliance before you upload it. This is highly recommended.
3. **Get a Professional Opinion:** If you are unsure, it is always safer and often relatively inexpensive to have it done at a pharmacy, post office, or photo studio. The cost of rejection and delay is often higher than the fee for a guaranteed-compliant photo.
Conclusion: Precision is Key
Resizing a photo to passport size is a task that demands accuracy. It’s not just about making a picture smaller; it’s about adhering to a strict set of dimensional, compositional, and qualitative rules. By understanding the required **600×600 pixel size at 300 PPI** and using the right tools—whether a precise online editor like **reduceimageresolution.com/**, professional software, or a dedicated app—you can confidently produce a passport photo that will be accepted without issue. Taking the time to do it correctly the first time saves you from the hassle and frustration of a rejected application.